Start with the Basics
If you’ve been thinking about making clay art at home, you’re in the right place. In this article, you’ll find out exactly what clay art tools you need to get started — even if you’re a complete beginner. Whether you’re interested in sculpting cute little charms or creating functional pieces like trinket trays and jewelry boxes, the tools you’ll need are simple, affordable, and in many cases already in your home.
First Must-Have: Air-Dry Clay
The one tool you absolutely need is air-dry clay. It’s beginner-friendly, doesn’t require baking, and is widely available. Different brands may vary in consistency — some are softer, others dry faster — but don’t worry, we’ll cover brand comparisons in a future post. For now, any basic air-dry clay will do the job.
Water – Your Best Friend (and Enemy)
Once you start working with clay, you’ll quickly realize how useful water is. It helps smooth cracks, blend seams, and keep the clay workable. But use it wisely: too much water can weaken the clay and cause cracks while drying. Keep a small bowl nearby and use it sparingly with your fingers or a sponge.
You Don’t Need Fancy Clay Art Tools — Really
There are tons of clay art tools online, but as a beginner, you don’t need to spend much. In fact, you can get great results using simple household items. Before grabbing tools, ask yourself:
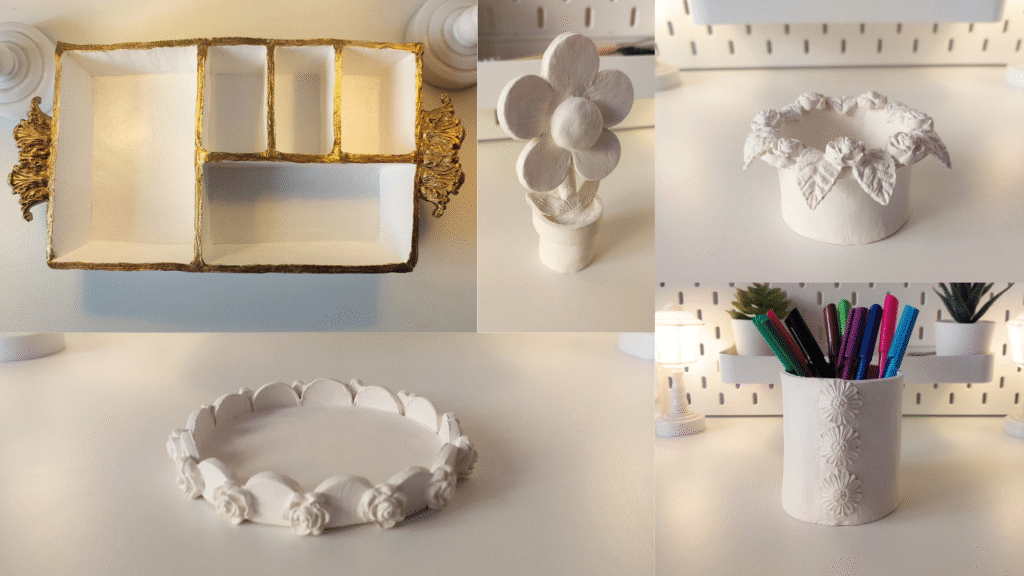
- Do you want to make miniatures like charms and keychains?
- Are you more into decor like trinket trays or jewelry boxes?
- Or do you want to explore both?
Knowing your creative goals helps you pick the right tools — no waste, no clutter.
Cutting Tools – Use What Works for You
Whether you’re slicing clay or shaping edges, you’ll need something to cut cleanly. This can be:
- A kitchen knife
- An X-Acto blade
- A ruler
- Even an old debit card
All of these work fine — choose what feels safest and easiest for you. The goal is precision, not perfection.
Rolling Pin – Even Thickness Matters
To get a smooth, even base for trays or boxes, you’ll need to roll out the clay. A wooden or acrylic rolling pin is ideal, but you can also use a glass bottle or even a cylindrical jar. For consistent thickness, place two identical items (like pens or popsicle sticks) on either side of your clay as guides.
Smoothing Sponge – A Finishing Essential
To smooth out surfaces and edges, a damp sponge is incredibly helpful. Choose one with fine texture (no large holes) so you don’t leave dents. If you don’t have one, even a damp microfiber cloth can help.
Carving Tools – For Detail Work
Want to add texture or carve out designs? A carving kit can help, but again — no need to buy anything right away. Toothpicks, pins, needles, and bobby pins all work for basic detailing and scoring. For miniatures, even a sewing needle or an old eyeliner brush can come in handy.
Sanding Your Clay Piece Before Painting
After your clay piece is fully dry, you can improve its surface by gently sanding it with fine-grit sandpaper. This step helps smooth out any rough edges or uneven areas before you begin painting. Use light, circular motions and avoid pressing too hard to prevent cracks. Once you’re done, brush off the dust and you’re ready to move on to painting or sealing.